Menu


The monthly update of our job shop scheduling software has just been rolled out into all user accounts. This time, we've added two new scheduling functions and further enhanced the Execute Mode. All new functionalities are eligible for all customers (and trial users) of the Pro and Enterprise plan.
With respect to scheduling, users are now enabled to split a task with the thus created sub tasks being automatically scheduled. In addition to this, you can now specify an integer capacity level for a resource: a resource with a capacity level of 2 will complete a task in half of the time than a resource with a capacity level of 1.
When working with the Execute Mode, we now made it easier to set back the planning start and to bulk reject feedback data set by your operators. Last but not least, a couple of bugs have been fixed.
As outlined above, as of now you can split a task and have the thus created sub tasks being automatically scheduled. If you are familiar with our pricing plans, you know that we schedule with a lump-sum runtime per task in the PRO plan and that we schedule with quantities and a production time per unit in the ENTERPRISE plan. Hence, I introduce this new function in three steps:
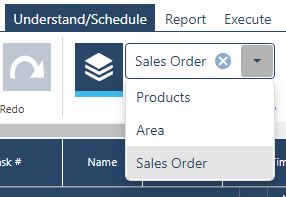
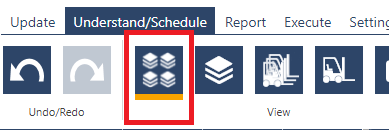
In general, you can split tasks both from the Job View, the Resource Group View, and the Resource View. The split task function can only be called via the right-click context menu on a single task:
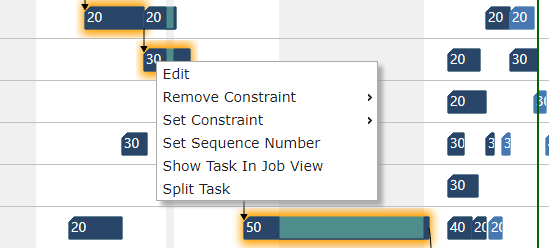
If you click split task, the "Split Task" dialog opens. This dialog is the same - independent from which view you opened it. This dialog consists of three areas:
When splitting a task, the following principles are always applied:
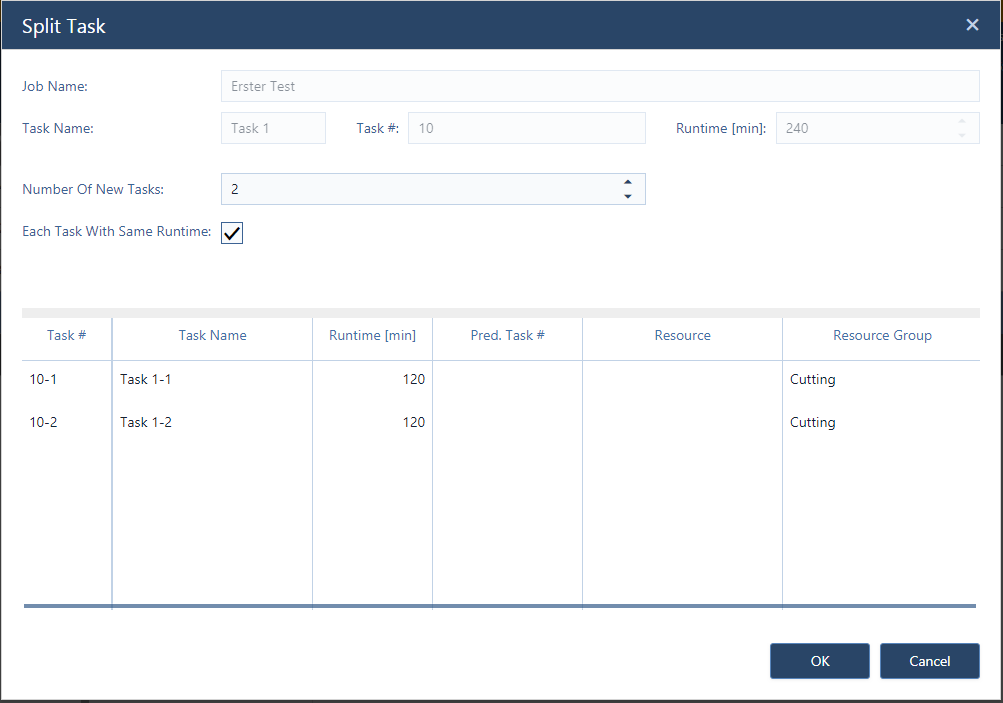
As indicated above, PRO users can split a task by defining the child tasks via the runtime. That means that you can split a task with a runtime of e.g. 240 minutes into four child tasks of 60 minutes each (if you check the box "each task with same runtime" in the split task dialog). However, you can also decide to split a 240 minutes runtime into unequal parts as the below example shows (in which task 2 was split into child tasks of 120, 70 and 50 minutes).

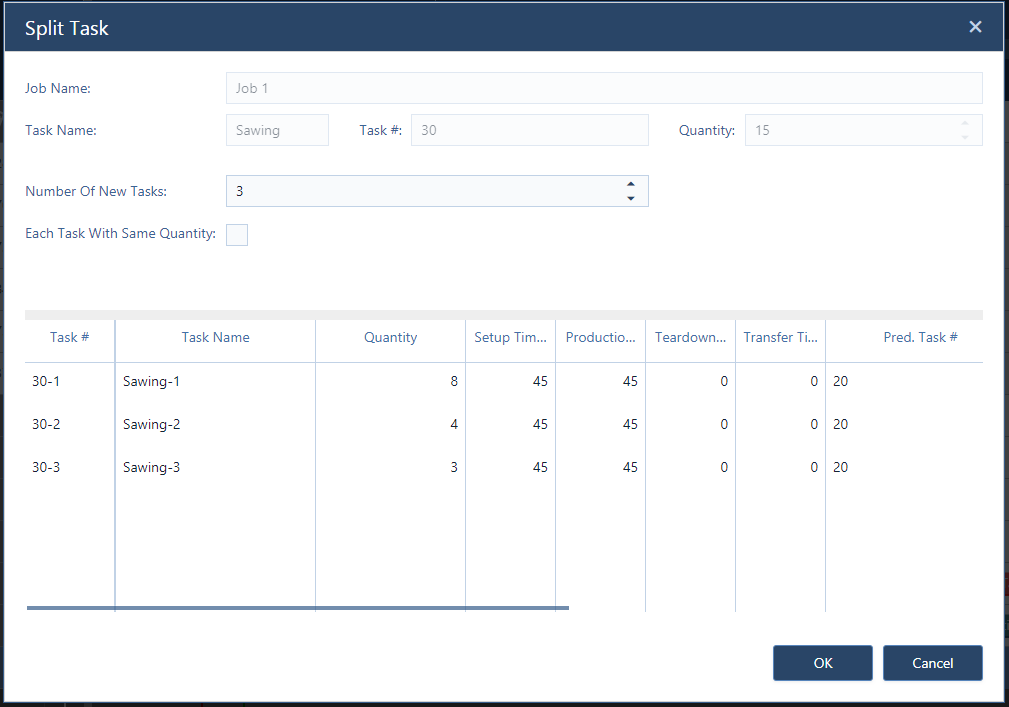
As you know, you can plan with quantities and detailed times (set-up time, production time per unit, etc.) in the ENTERPRISE plan. Hence, splitting a task needs to follow different principles than for PRO users. When working with quantities, splitting a task in most cases means trying to better distribute the 'to be produced' quantities across multiple resources within the same resource group. Consequently, we allow you to split the task by quantities .. with either same quantities per child or individually set quantities as in the example below, where a task from a job with quantity 15 had been split into tasks of 8, 4 and 3.
There are a few general things to be taken into account when splitting a task in the ENTERPRISE plan:
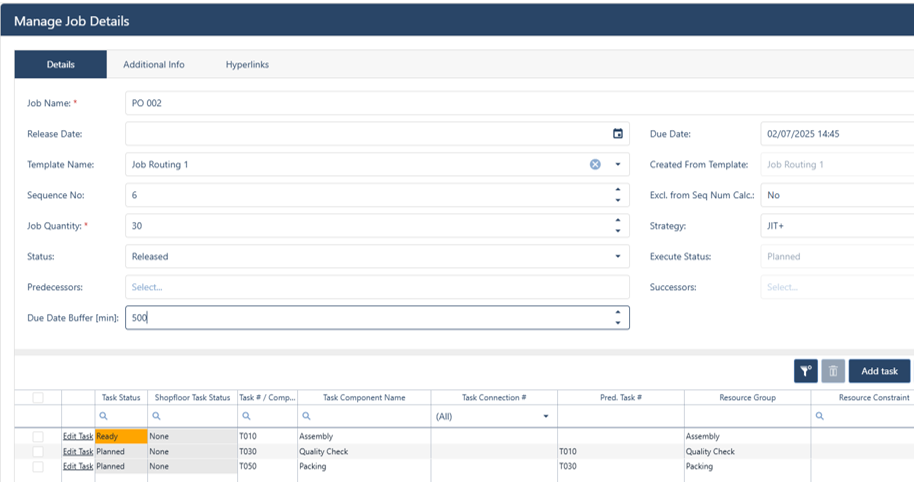
Of course, this new functionality - literally through the "back door" - opens up a new option for you: you can now differentiate between the job's quantity (produce 10 tables) and a task's quantity (produce 40 legs).
By the way: splitting a task is a new feature that was repeatedly suggested and requested by many of you guys. Thanks a lot for this feedback and for challenging us :-)
The same is true for the next enhancement of the scheduling capabilities of just plan it. This is the capacity level, which is a new attribute for a resource. For the time being, the capacity level can be defined as an integer value only. In essence, a resource with a higher capacity level can complete the same task faster than a resource with a lower capacity level.
Example: you have a task with a runtime of 240 minutes.
Have a look at the animated image above: the resources named team #2 and team #3 have a dedicated capacity level. The capacity level for team #2 is 2, and the capacity level for team #3 is 4. The capacity level is displayed in the white box in the left-hand table. When the task 20 is re-assigned from team #1 (capacity level of 1) to team #2 or team #3, the runtime for the task gets shortened accordingly.
As such, the capacity level follows the idea, that de facto you do not need to schedule down to a single resource, but than you can cluster some resources into teams.
So far, the Execute Mode had a very tough restriction. Once a planner approved the updates he got from the operators and left the Execute Mode, he could not undo the changes and the planning start was moved to the pulse-to line.
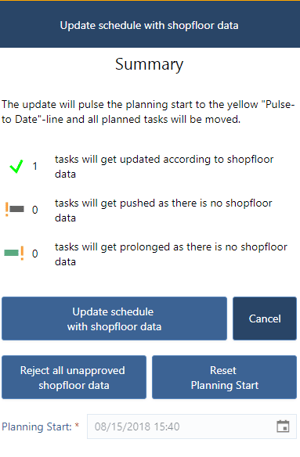 With the current product update, we wanted to make the planner's life easier. First of all, if you recognize that your operators did not have their best day (maybe they celebrated a big victory of their preferred sports team last night), you can bulk reject all of the updates the operators made. Second, you also have the option to reset the planning start. Both can be done from an enhanced approve dialog within the Execute Mode.
When you click "reset planning start", a date/time picker opens as you know from other areas of our software. When you then choose a date, the current planning start becomes the new pulse-to-line and all the tasks between the old planning start and the newly defined planning get set back to the last update being given by the operator (in some sense, you de-approve this operator information).
This sounds a bit weird, but it works well. Test it out ... and you'll notice a new degree of flexibility working with the Execute Mode.
That's it for this update. We already kicked of the development of the September version which will bring some exciting new functions as well.
If you are not a just plan it user so far, why not start a trial and check out these new functions, and how you can achieve an easy time and resource scheduling?
just plan it is a production scheduling software plus scheduling tools & best practices to help high-mix low-volume make-to-order manufacturers gain transparency and control over their shop operations. The software plus its methodology is used by thousands of people around the globe. They consistently achieve improved on-time deliveries, shorter lead times, and better utilization of their resources.
As just plan it is not just software, but a lot of processes and best practices, we recommend that you start with an exploratory meeting. If we agree that there is a fit between your requirements and our approach, we'll build a prototype for you.
Hence, it all starts with a meeting. Book that meeting now.

Comments (2)