The Job View 
The Job View is the default view of just plan it. After having worked in another view, you can come back here by clicking the above icon.
Here is how the Job View looks like:
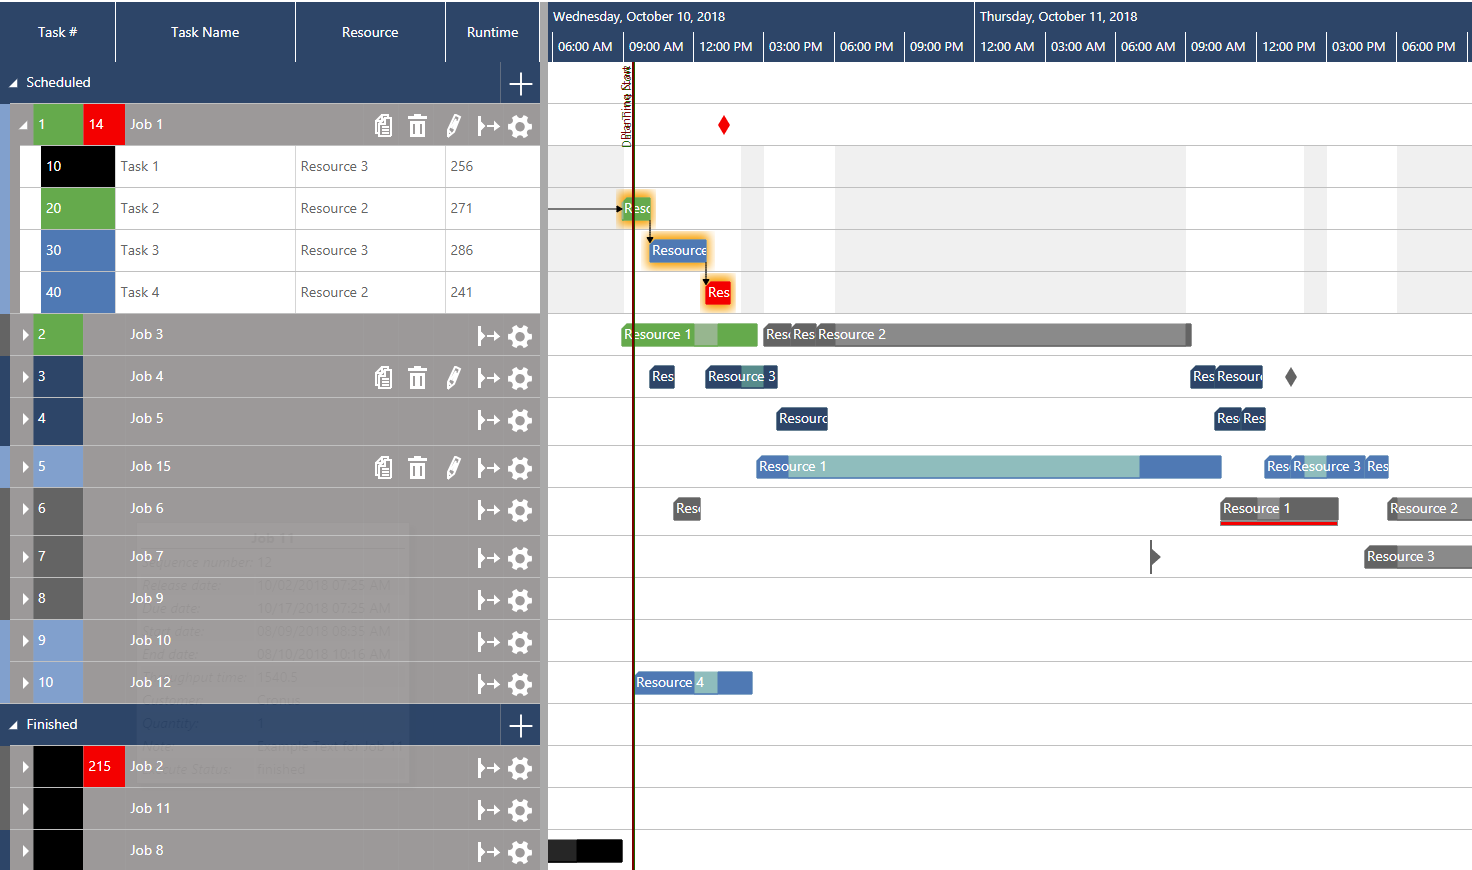
Design of the Job View
The design of the Job View is based on the structure of a Gantt chart:
On the left, a table shows jobs categorized by "Scheduled"and “Finished”. Scheduled jobs are sorted in ascending order by their sequence number: the lower the sequence number, the higher the priority of the job. That means that the most important jobs are shown at the top of the software. Within one job, tasks are shown ascending by their task number (often representing the order of which one task follows the other).
Finished jobs are sorted by their finish time: the earliest first and so on.
On top of the right part of the Job View a time scale is displayed, below it, there's a diagram area where the tasks are shown as bars in a production schedule, each bar representing its status by the according color.
Calendar grids (somewhat in the background) in white or grey indicate working (white) and non-working times (grey) of the resources so that some bars may appear longer than their stated runtime since they will be interrupted by a non-working time and finished within the following working shift, the interruption being indicated by a lighter bar color than the actual production time.
Job status and task status
Two different states are indicated by different colors:
Job status
Each job can be assigned a status that is indicated by an according color, both in the table area as in the visual schedule:
- Released: dark blue - jobs that are ready for the shop floor
- Ordered: light blue - a job having been ordered by the customer but not yet ready for the shop floor. Reasons could be missing material, final drawing not approved, etc.
- Quoted: grey - a job for which you got an inquiry from your customer. You put it into the schedule to get an understanding about the earliest delivery date based on the current workload/resource utilization.
Task status
The task status indicated by according colors is set in the Execute mode.
- Planned: color of the job status
- Started: green
- Finished: black
Resulting visualization options for jobs and tasks states
 |
Jobs with minimum one task started are highlighted in green. |
 |
Jobs with no started/finished tasks are shown in the job status color like described above |
 |
In expanded jobs, the task status is also indicated by the according color. |
Find below more information of the Jobs View's structure and its manifold ways of editing jobs and tasks
Collapse/Expand
Every status category consists of at least one job, every job has at least one task. Status categories and/or jobs can be expanded or collapsed by clicking the corresponding icons:
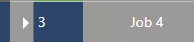
| Collapsed: click to expand | |
| Expanded: click to collapse |
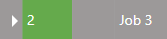
Expanded status category/collapsed job |
 |
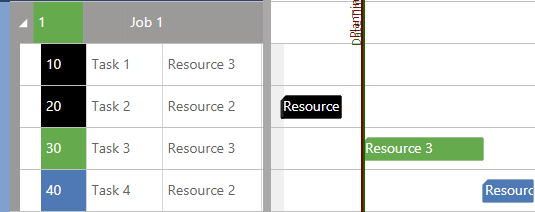
Expanded status category/expanded job |
|
| In the table area, each task is shown in a single table row. | 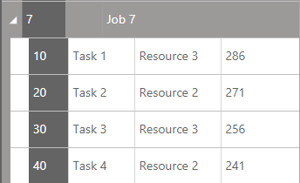 |
| In the diagram area, each task is represented by a bar. | 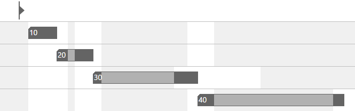 |
Information and editing options in the table area
A click on a job line or a task will show all relating icons and information concerning this job, while at the same time, all tasks of a clicked job will be highlighted in the visual schedule.
| The sequence number of a job determines its level of priority: 1 is of top priority and will be processed first, and so on. To modify the sequence number, click on the number next to the job name to call the corresponding dialog. |
||
 |
Clicking the job name will highlight it and directly scroll to the relating position in the diagram area |
|
|
The selected job will be copied and inserted at the end of the respective category (which means with the lowest priority) |
||
| Clicking this icon calls the Manage Job Details dialog where all the job's details like name, release date, due date etc. can be edited. Click here for more information on job management. | ||
| The job will be deleted. | ||
| The global job strategy as having been specified in the Settings dialog is ASAP. Clicking the icon will change the planning strategy of this job to JIT, this being indicated by the according icon in orange |
||
| The global job strategy as having been specified in the Settings dialog is JIT. Clicking the icon will change the planning strategy of this job to ASAP, being indicated by the according icon in orange. |
||
|
The global scheduling mode has been set to Automatic in the Settings dialog. Clicking the icon (only possible in hybrid mode) will change the scheduling mode of this job to "Manual" which will be indicated by the according icon in orange. |
||
|
The global scheduling mode has been set to Manual in the Settings dialog. Clicking the icon (only possible in hybrid mode) will change the scheduling mode of this job to "Automatic" which will be indicated by the according icon in orange. |
||
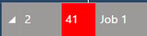 |
The red rectangle indicates that this job will be late, the white number specifying how much minutes the last task of the job will finish after the due date of this specific job. The time unit indicating the amount of the delay can be changed to hours in the Settings dialog. |
|
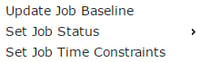 |
Right-clicking a Job Line will call a context menu to update the baseline for this particular job, modify the job status, or set or remove time constraints. Updating the job baseline will call a dialog in which you can see the previous baseline and the new values as they are currently planned in your schedule. You cannot change these values in the dialog, but just confirm that you want to update the baseline accordingly. |
|
Information and editing options of the diagram area
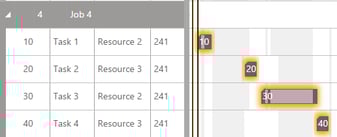 |
All tasks of a marked job are highlighted by an orange frame. |
| Release Date: The earliest possible starting date for this job. | |
| Red bar: indicates delay (planned finish date of task > due date) | |
| Due Date: Turns red in case of delay red in the Job Line and is overlapped by the according task bar. | |
|
|
A little clock symbol in orange on the bar tells you that there is a time constraint for that specific task. If it comes along with a bracket on the left of the corresponding task (between the predecessor and the respective task) it is a "start not earlier than" restriction. This applies when your planning strategy for this job is ASAP. The position of the bracket on the left also marks the exact date of this time constraint. |
|
|
A little clock symbol in orange on the bar tells you that there is a time constraint for that specific task. If it comes along with a bracket on the right of the corresponding task (between the successor and the respective task) it is a "do not finish later than" restriction. This applies when your planning strategy for this job is JIT. The position of the bracket on the left also marks the exact date of this time constraint. |
| The thin green line shows the progress/percentage of completion of a task, as having been set in the Manage Task Details dialog. This value is for information purposes only. | |
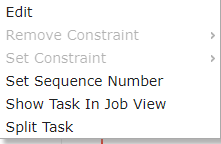 |
Right-click on a bar calls a context menu to edit the Task Details, to set or remove constraints, to modify the sequence number, to show this specific task in the Resource View and directly scrolling to it, and to split this task. |

