The Resource Group View 
If you want to see the utilization of your resources at one glance, switch to the Resource Group View by clicking the above icon. It shows you all jobs and tasks in an automatic scheduling-centric view with displaying all resource groups.
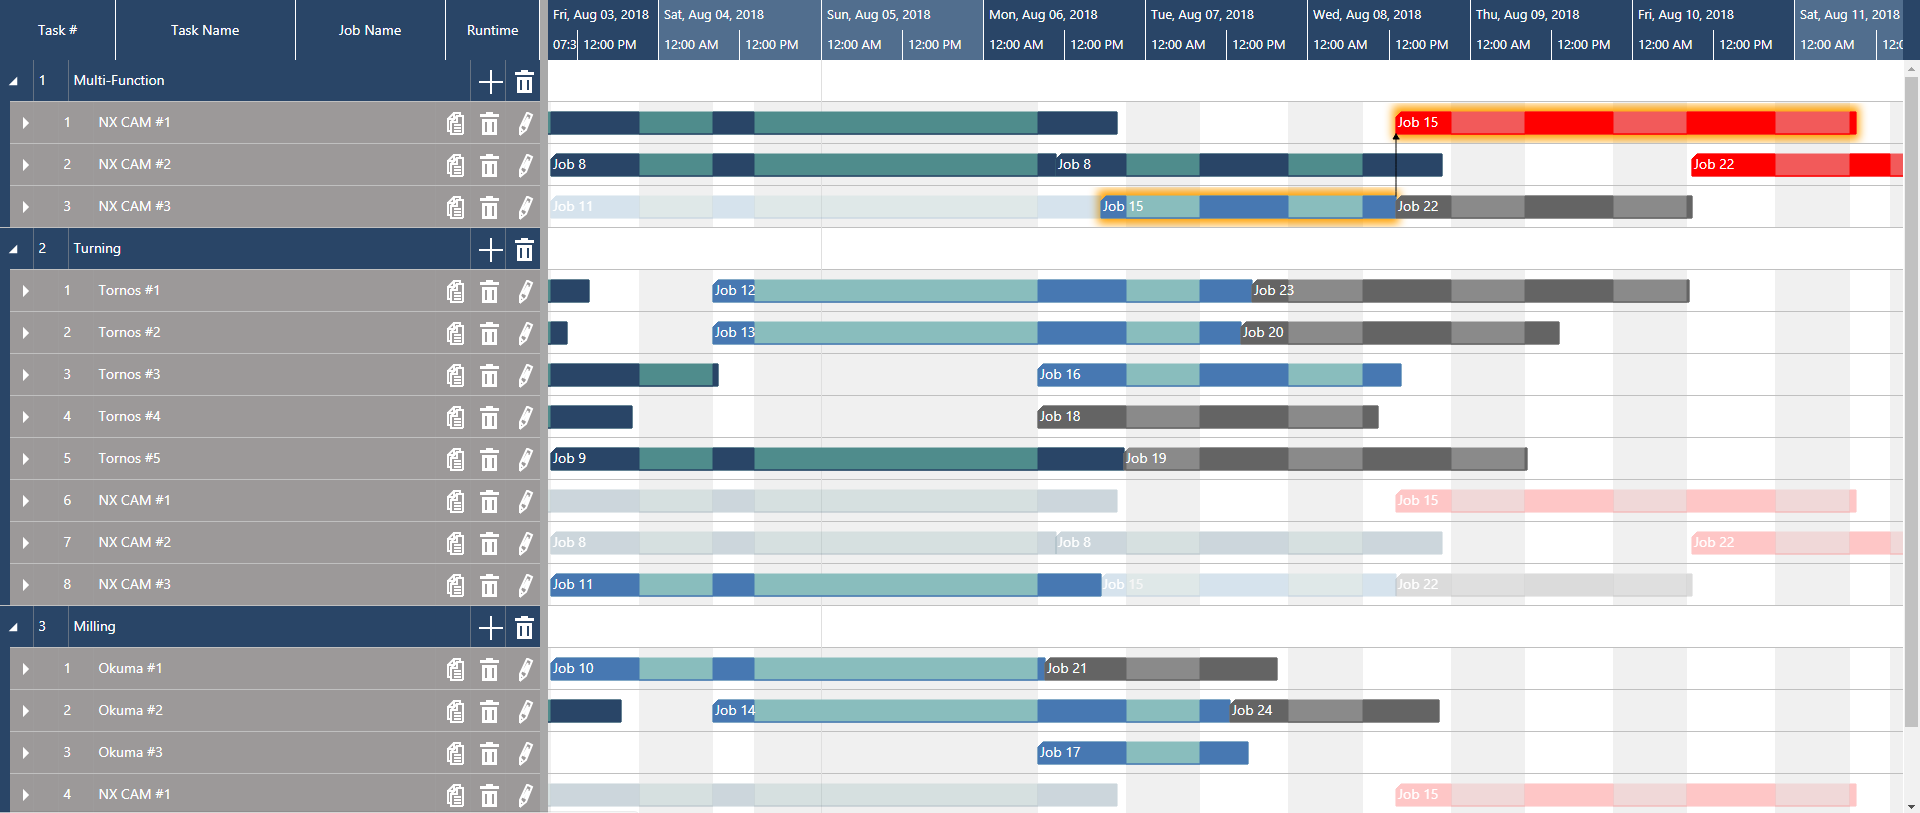
The design of the Resource Group View is based on the structure of a Gantt chart. On the left, there is a table, displaying resource groups, their respective resources and relating tasks as table rows.
On top of the right part of the Resource Group View a time scale is displayed, below it the chart of your schedule shows the tasks which are assigned to the respective resources as bars. Calendar grids in white or grey indicate working (white) and non-working times (grey) of the resources.
Below you will find detailed information of the Resource Group View's structure and its manifold ways of editing resources, resource groups, and tasks.
Collapse/Expand
Every resource group consists of at least one resource, and resources can be assigned with tasks. Resource groups and/or resources can be expanded or collapsed by clicking the corresponding icons:
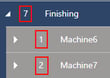
| Collapsed: click to expand | |
| Expanded: click to collapse |
Collapsed resource groupThe resource group is displayed as table row in the table area while in the diagram area the bars, each representing one task of a specific job assigned to that resource, are arranged as chain, one row per resource. |
|
Expanded resource group/collapsed resource |
|
|
Each resource group is shown in a single table row while in the diagram area each task of this resource is displayed as bar. In case of capacity overload (only possible in the manual or hybrid scheduling mode), the tasks of this resource will be displayed in two or more rows. |
 |
Expanded resource group/expanded resource |
|
|
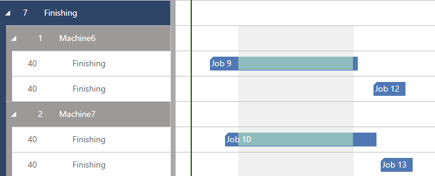
In the table area, each task is shown in a single table row whereas in the diagram area, each task is represented by a bar. |
|

Information and editing options in the table area
| Opens the Manage Resource Details dialog to create a new resource | |
| The selected resource will be copied and inserted at the end of the respective resource group. | |
| The resource/resource group will be deleted. | |
| Opens the "Manage Resource Details" dialog where all the resource's details like resource name, resource group, and work time can be edited. Click here for more information on resource management. | |
 |
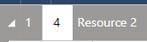
Click the number at the left of the resource group/name to change the order of a resource group/resource. Changing the resource number has an impact on the schedule (if you work in the automatic scheduling mode) whereas changing the resource group number has no impact on the schedule, but is just for visualization (arrangement on the screen) purposes. |
 |
The infinity symbol to the left of the resource name indicates that the respective resource is defined as infinite. This means that this resource can be allocated to an unlimited number of tasks at one time. |
 |
The number in the white box between resource number and resource name shows the capacity level allocated to this resource. For more information on the capacity level see chapter |
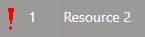 |
The red exclamation mark left to the resource name indicates a capacity overload at the respective resource, that can occur using the manual (and hybrid) scheduling mode. At the same time, a small red bar appears below the corresponding task(s). |
Information and editing options of the diagram area
 |
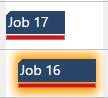
Red bar indicates delay of task |
 |
Clicking a bar will mark all bars of the corresponding job |
 |
A small red bar below the tasks indicates a capacity overload at the respective resource, that can occur using the manual (and hybrid) scheduling mode. At the same time, a red exclamation mark l appears in the table area left to the resource name. |
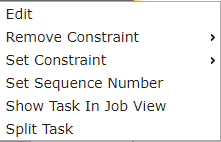 |
Right-click on a bar calls a context menu to edit the Task Details, to set or remove constraints, to modify the sequence number, to show this specific task in the Job view and directly scrolling to it, and to split this task. |
 |
When hovering over a task you will see the release date and the due date of the respective job shown as a vertical line. In case the job is late, the due date line will turn red. |
|
|
A little clock symbol in orange on the bar tells you that there is a time constraint for that specific task. If it comes along with a bracket on the left of the corresponding task (between the predecessor and the respective task) it is a "start not earlier than" restriction. This applies when your planning strategy for this job is ASAP. The position of the bracket on the left also marks the exact date of this time constraint. If it comes along with a bracket on the right of the corresponding task (between the successor and the respective task) it is a "do not finish later than" restriction. This applies when your planning strategy for this job is JIT. The position of the bracket on the left also marks the exact date of this time constraint. |
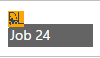 |
that this task has a “this resource only” restriction, the restriction being indicated by a small resource symbol on top of the bar. |

